Friday, June 25, 2010

Beach Bums

Hello!

Awhile ago I posted about going on a fantastic Caribbean cruise with my husband and friends during early March.  We had a BLAST!  I have slowly (very slowly!) been getting pages done for this...I posted some of them HERE and HERE.  Today I want to share one of my favourite pages for this cruise (it is tied with the 'ladies who beach' one in the first link).  This is of me and my hubby, in a typical 'selfie' picture.  I used papers from the October Afternoon 'Fly a Kite' line (love) and really like how it turned out!  Hope you like it!


Hope everyone has a great day and weekend!  I am standing up in a wedding this weekend so I will hopefully have another post up early next week! 

Please leave a comment.  I love to hear from you!

Thursday, June 24, 2010

The Magic of a Crop

Hello!

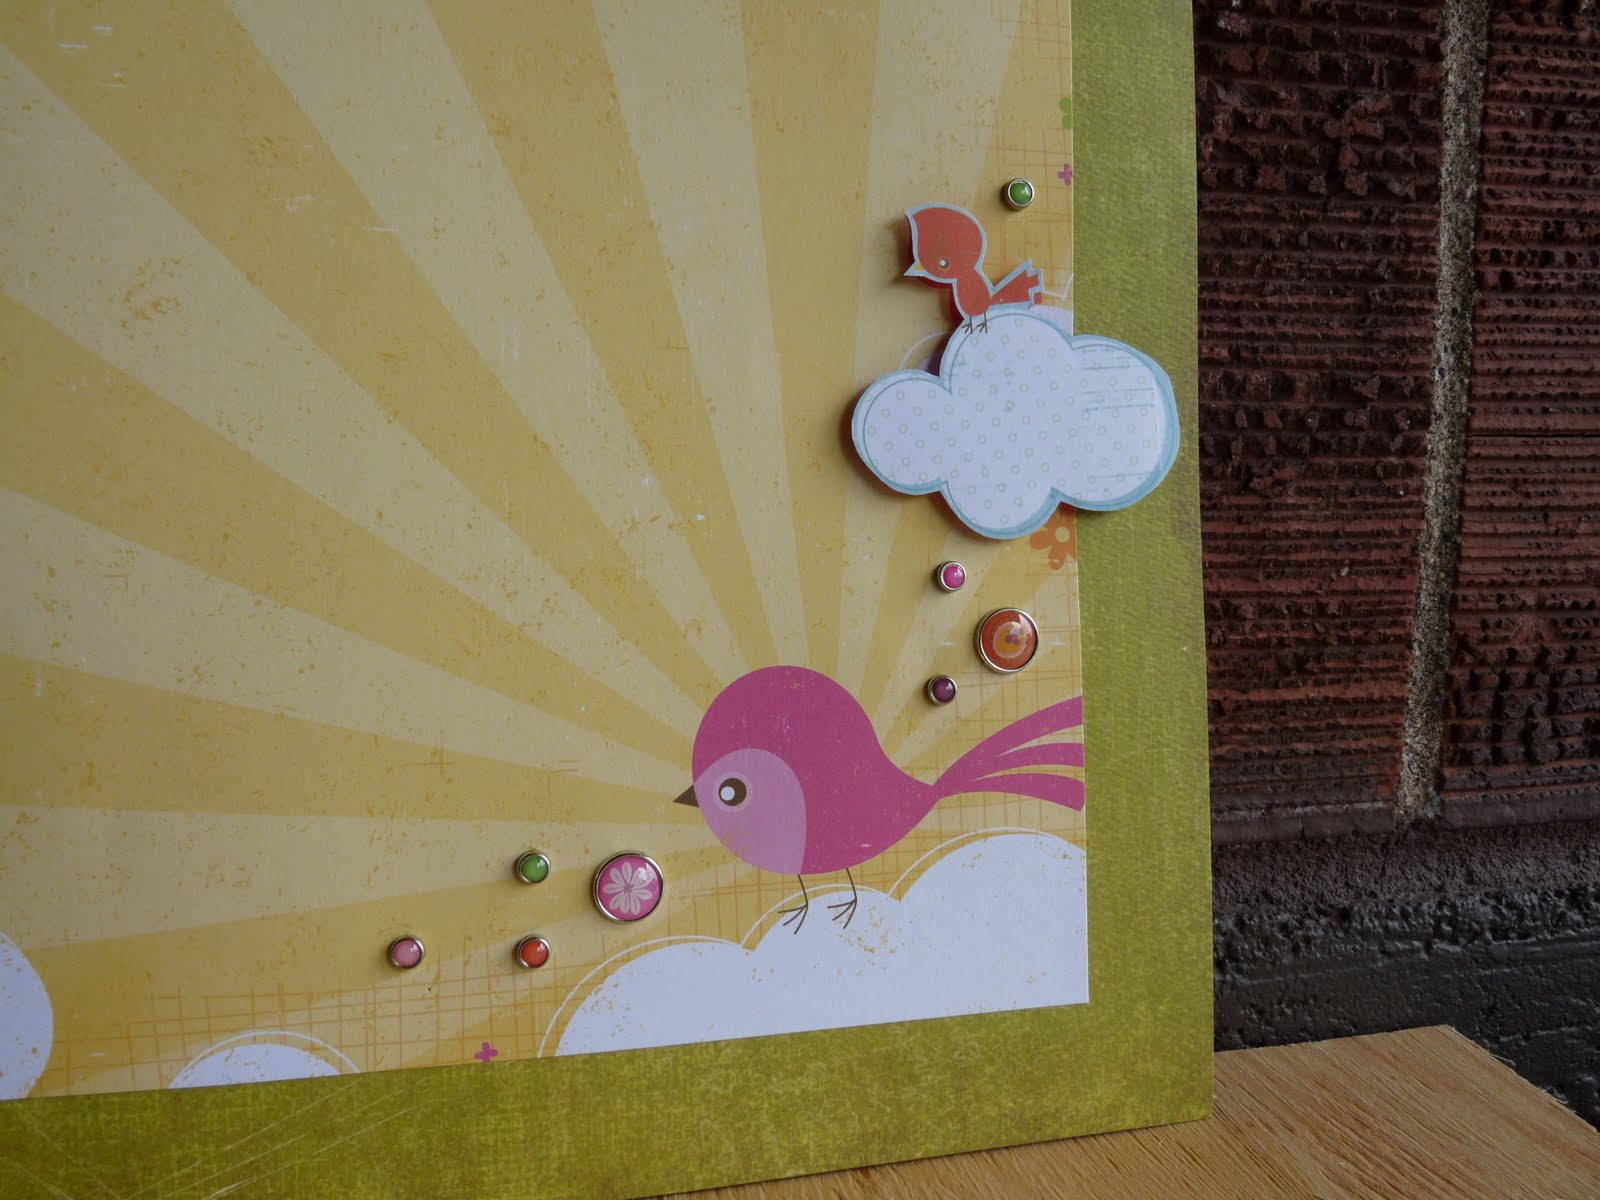
A few weekends ago I went to Stamping Bella for a '6 layouts in 60 minutes' class.  This is always a fun time, with a lot of chit chat and 6 completed layouts before you know it.  Usually after the class all the ladies grab a bite to eat and stay for some cropping time.  And I have discovered that this is where the magic happens!  I selected some papers (little bird whimsy and little bird clouds from the Paper Adventures 'Woodland Whimsy' paper collection) and embellishments to create the following layouts.


One of the ladies liked how I had cut out the birds sitting in the clouds to pop them off the page.  She came up with this border by going around the page with her trimmer and making a 1 inch inside cut, stopping when she came to a bird or a cloud.  She then trimmed out the birds and clouds to make the border more decorative.  I of course loved this idea, copied it, and came up with this layout.  I chose a yellow background paper because I wanted to tie in the yellow from the first two pages.
So after scraplifting this page [ :) ] I needed a partner for it.  I like to have the same background when I have side by side layouts, so I started with that, and created the simple layout below.  SOOOOO happy with the results! :) 
I love that because we were working together we were able to exchange ideas and come up with some great layouts!  The magic of a crop I tell you!  Hope you are having a great day!
Please leave a comment.  I love to hear from you!
Lisa

Wednesday, June 23, 2010

Hoarding, Spots and Dots

Hello!

I have a project to share today that I am VERY in love with at the moment.  Firstly, (is that a real word?) Momo over at Made by Momo posted a challenge yesterday to incorporate Spots and Dots into our projects.  I very much enjoy polka dots at the moment, so I was quite excited for this challenge.  While selecting materials I pulled out my package of Crate Paper 'Brook' items.  Awhile ago I posted that I had gone to Scrapfest for a weekend full of scrapbooking, shopping and fun (you can see that post HERE).  While I was there I bought everything I could find from the Crate Paper 'Brook' line.  My dad always used to tell me that 'blues and greens should never be seen, unless they are in the washing machine'.  He was wrong.  So very very wrong.  This line is amazing. SOOOOOO many beautiful papers and accents. In beautiful colours of blues and greens (haha) and yellows and browns and it is just pure wonderfulness. I have been hoarding it since then.  I keep pulling it out just to look at it.  And FINALLY I have used some of it.  Just a tad.  I didn't want to use it all up too quickly.  But the end result is something I love..


Everything that I used for this layout is from the Crate Paper 'Brook' line with the exception of one brad (from my stash) and the blueish turquoise crystals (BoBunny - FlutterButterButtons)

1) Starting with the brown paper (Wild Flowers) I did an inside cut on the paper creating a 2 inch border.  I set the middle piece aside for use on another project.

2) Next, using the blue paper (Branch) I did another inside cut, this time creating a 1 1/2 inch border.  Setting the frame aside, I used the inside piece, and did yet another inside cut, creating a 1 inch border.  I kept the frame from this, and set aside the remaining inside piece.  The frame should end up being 9 x 9.

3) Using the yellow spotted paper (Sunshine) I cut an 8 x 8 square.  The beige patterned paper is the reverse of this yellow spotted paper.  I cut a 11 1/2 x 2 inch strip of this as well.

4) I adhered all of my pieces together to create my background (blue to brown, yellow to blue, beige strip almost all the way across the page).

5) I selected two border stickers from the collection.  The scalloped one is normally full circles, however I trimmed it in half to create the scallop effect.  I attached the scallop border first, and then the polka dotted one above it.

6) Next I selected various flowers and circles from the precut cardstock accents, chipboard stickers, and rub-ons, and fiddled with their arrangement until I was happy with how they looked.  I added the brads and crystals to balance out the arrangement.

I am not entirely finished with this page.  I am not sure which pictures I will use, but when I decide I may add a title as well.  But I do love it as is at the moment.

Just as a side note, this is the back side of my layout.  Look at how gorgeous these papers are, that even without trying to match them, they look phenomenal together.  This collection is too wonderful.


I hope you enjoy what I put together today! 

Please leave a comment.  I love to hear from you!

Lisa

Tuesday, June 22, 2010

Ladybugs

Hello!

This week over at Paper Playtime the challenge is to create something that ties in with the theme of Bugs, Bees, Ants and Ladybugs.  I do not enjoy bugs in real life....at all....however they are certainly cute on a nice card or scrapbook layout!  I have a sweet little stamp set from Papertrey Ink called Little Lady, which features ladybugs.  Ladybugs are one of my favourite bugs on paper (hehe) - right up there with butterflies and caterpillars, so I was excited about today's theme.  This is what I came up with:


1) I created a decorative border on a strip of 2 1/2 x 11 sheet of Whisper White Cardstock (Stampin' Up!) by randomly stamping images from the Little Lady stamp set (Papertrey Ink).  This is a two-step-stamping set.
          a) First stamp the large ladybug using Real Red and Basic Black Ink (Stampin' Up!)
          b) Second stamp the smaller ladybug using Real Red and Basic Black Ink (Stampin' Up!)
          c) Third stamp the larger flower using Crushed Curry and Basic Black Ink (Stampin' Up!)
          d) Fourth stamp the smaller flower using Crushed Curry and Basic Black Ink (Stampin' Up!)

2) Create the scalloped border using the Papertrey Ink Eyelet Lace border die, Crushed Curry cardstock (Stampin' Up!), and my Cuttlebug, and attach to the back of the decorative strip using glue runner.

3)  Attach decorative border to a sheet of cardstock.  In this case I chose to use a solid colour, 12 x 12 Old Olive by Stampin' Up!.

4) I stamped another large ladybug on a scrap piece of Whisper White cardstock (Stampin' Up!) and cut it out with sharp scissors.  After stamping the little dotted 'trail' directly onto the layout, I attached the large ladybug over top of another large ladybug on the decorative border using some foam squares.

5) I adhered my title using my zig two-way glue pen and letters that I have had for awhile.  I THINK they are thickers, but am not 100% sure - I didn't keep the packaging.

6) I attached small black crystals to some of the flower centers (a bit hard to see in the photos) for a bit of sparkle and dimension.

7) Attach a 4 1/2 x 6 1/2 mat, and two 2 1/2 x 3 1/2 mats above the decorative border for pictures.


Hope you enjoy this project!

Please leave a comment.  I love to hear from you!

Lisa

Tuesday, June 15, 2010

Happy 'Bird' Day Postcard

Hello!

This week over on Paper Playtime the challenge is to create something using red, white, and blue as the colour theme.  I made a quick and easy post card to send to a friend for their birthday.


1) I stamped the calendar image using SU! Calendar Stamp in Stazon Jet Black, and wrote in my dates using my SU! Stampin' Write Basic Black Journaler.
2) I stamped 'July' using SU! Full Calendar, and 'BIG DAY!' using SU! Cute Cues in SU! Real Red, and the arrows using SU! Cute Cues in SU! Pacific Point.  Both stamp sets are coordinating sets for the Calendar Stamp.
3) I stamped 'happy bird day' using SU! Picture This hostess set in Pacific Point.
4) I stamped the yellow scalloped border in SU! Crushed Curry, and the red scalloped border in SU! Real Red.  Both scallops are from the Sassafras 'Collaged Trip' stamp set.
5) Using an 11 x 1/2' piece of Pacific Point cardstock I created the ruffled border by folding the paper back on itself.
6) Lastly I attached a piece of SU! Real Red grosgrain ribbon to finish it off.

It ended up being around 5 3/4 x 6 5/8, and there is room on the back to write a personal note.  I would send this in an envelope, even though it is in postcard format, just to keep the embellishments secure and ensure it arrives safely.

Hope you like my take on this challenge!

Please leave a comment.  I love to hear from you!

Lisa

Sunday, June 13, 2010

Cricut Discovery

I was fiddling with my Cricut DesignStudio Software today and made a fun discovery!  I was working with an image that had pieces I didn't want cut out.  Here is the image.  It is a scallop with holes in the center of each part (sort of like the threading water border punch).  I only wanted to use the scallop part of the image, without the holes.

If you select part of your image by clicking on it, it will turn red.

At this point you can right click (right button on your mouse) and a menu will pop up.  In this menu, select 'Hide Selected Contour'.

When you do this the portion of the image you want to hide will turn pink (hard to see in this image).

When you click a different part of the whole image, the hidden part will show as blue.

When you click the print preview (the eye) you can see that the hidden part will no longer be cut.

This was quite a fun discovery for me!  I knew that the Gypsy could do this, but I wasn't aware that the Cricut DesignStudio software had these capabilities! 

I hope this is helpful to some of you, and I am not just sharing commonly know info!

Lisa

Tuesday, June 8, 2010

Paper Playtime Challenge #2

Paper Playtime has posted their weekly challenge, and this weeks theme is 'In thy face I see honor, truth and loyalty'. We are able to interpret this theme in any way we want, and I thought it would be the perfect theme to use for a wedding album page. Here is what I came up with:

You can see a tutorial for how I make my distressed flowers here.  Hope you like it!

Please leave a comment!  I love to hear from you!

Sunday, June 6, 2010

Paper Playtime Announcement

HI EVERYONE !
I'm so excited to announce that I'll be joining the 
as a guest host on occasion ! 
So if you're in the need of a little motivation to get your creative MOJO back, or just want to join the fun, Come on over ! There will be a new challenge EVERY WEEK !

Say Hi to the 2010 Paper Queens...click on their name to visit their blogs for more inspiration !

Saturday, May 29, 2010

Pause Dream Enjoy Challenge #3 - Vacation

Hello!

Janis over at Pause Dream Enjoy is hosting another challenge, and this week the theme is 'vacation'.  I made a quick little card to give to someone before they go away!  Maybe on their honeymoon, or something fun like that.  I used my Stampin' Up! Tropical Party stamp set for the image and sentiment.


Hope you like it!

Please leave a comment.  I love to hear from you!

Lisa

Thursday, May 27, 2010

Video - File Folder Mini Album

Hello!

Here is the second part to the gift I made for my friend to give a friend who had a baby (haha - hillarious sentence).  You can see the first part of the gift here
In this post I have a video showing how I create my file folder mini albums.  I showed the first one I ever made in my very first video.  I had a few questions about how I put it together, so you can find all the details in todays video!  I hope you like it!  I used Papertrey Ink's Top Ten, and Top Ten Additions stamp sets for my images, and sentiments.  Lettering stamps are from a set from Walmart - forget the company that makes them.


Hope you like it!

Please leave a comment.  I love to hear from you!

Lisa
>

LinkWithin

Blog Widget by LinkWithin